How do I take a screenshot of a window in macOS without a shadow?
Answer: macOS provides several useful keyboard shortcuts for taking screenshots. You can take a screenshot of the whole screen (or multiple screens), a single window, or a single area within a custom rectangle that you select. Holding Control when you take a screenshot saves it to the clipboard rather than a file so you can paste it in an app like Adobe Photoshop or Apple Mail.
Below are the standard screenshot shortcuts in macOS Mojave:
- Command+Shift+3: entire screen
- Command+Shift+4: selected area
- Command+Shift+4, followed by spacebar: selected window (click to choose the window)
- Command+Shift+5: display screen recording options
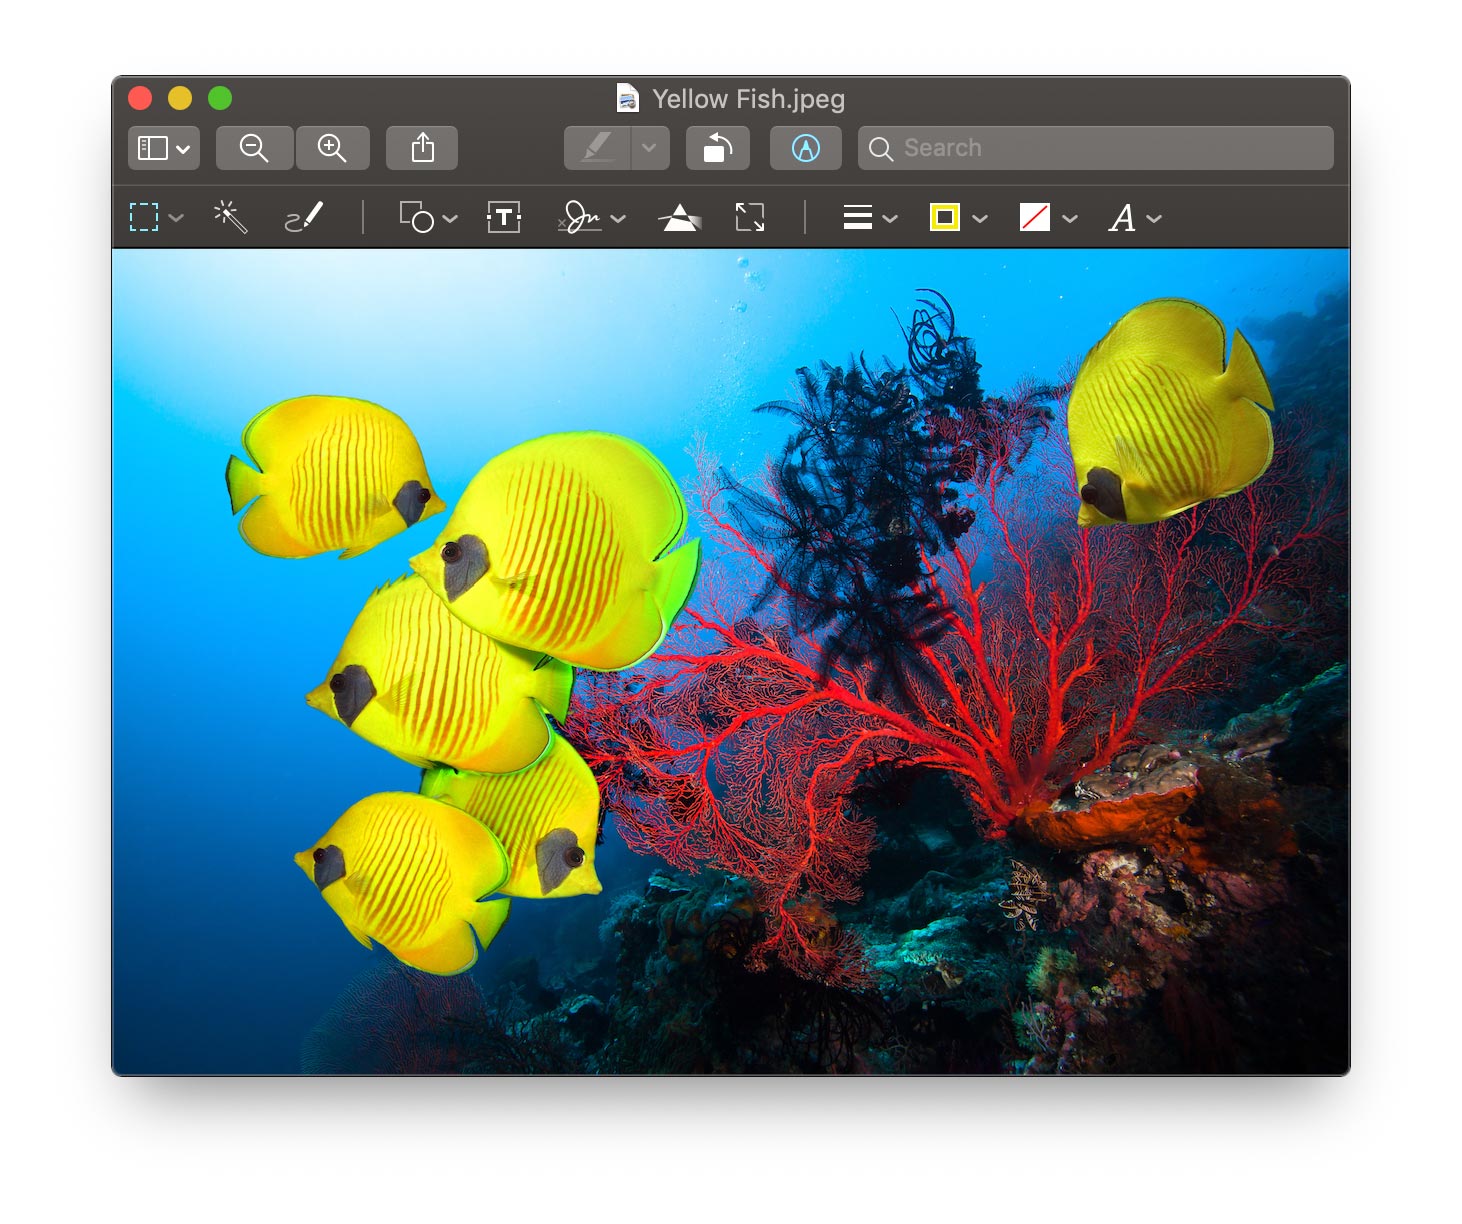
I use option 3 above all the time to take a quick screenshot of a window on my Mac. However, I don't like how the screenshot has a large drop shadow around it, increasing the dimensions of the window significantly.

So how do you get rid of the drop shadow?
▶ Hold the Option key when you click the window.
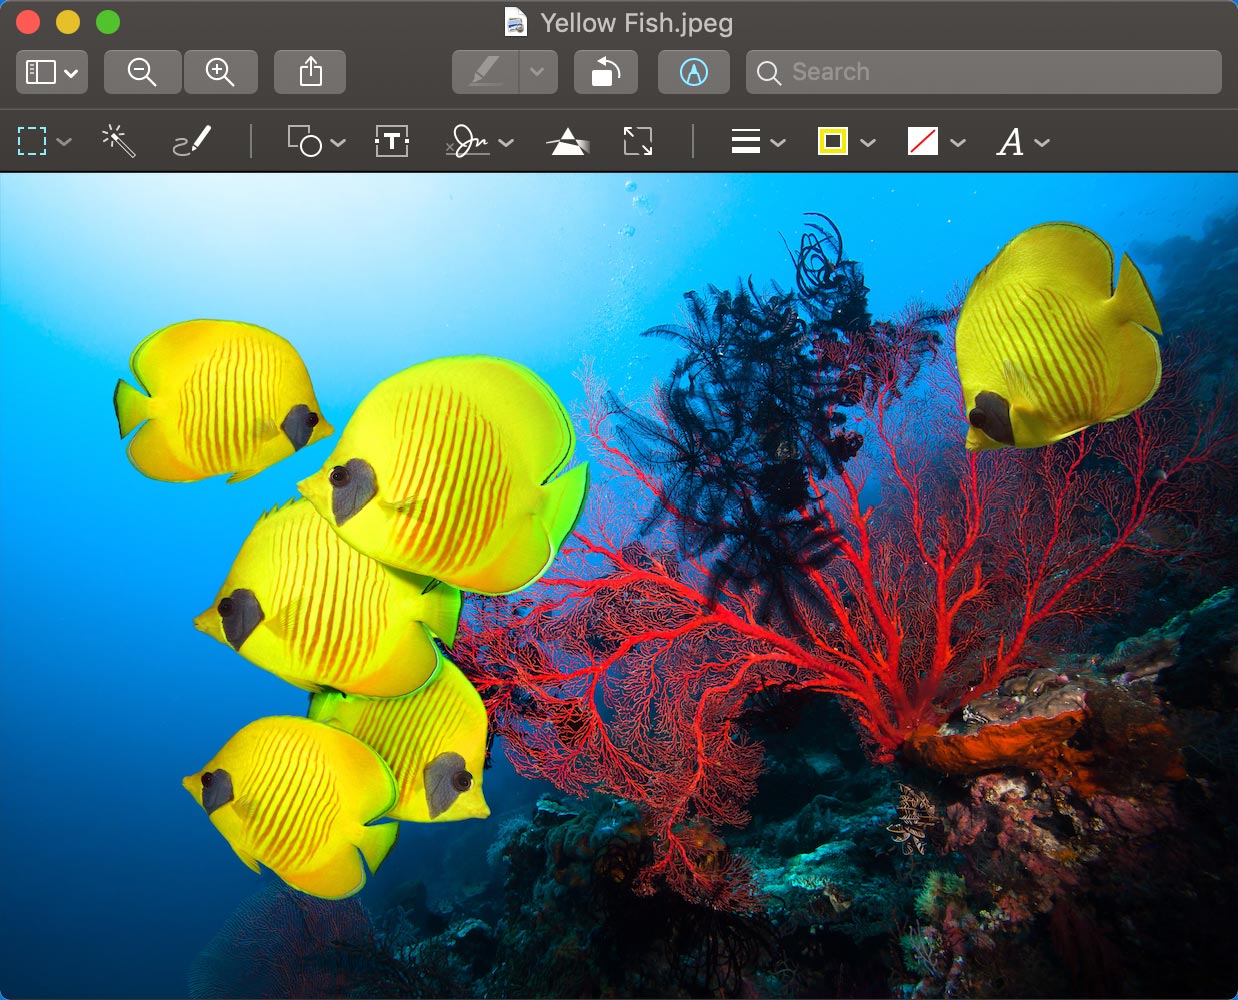
This is one of my favorite and little-known shortcuts in macOS. It creates more efficient screenshots and saves the hassle of editing out the drop shadow after the fact. Using the above method produces this result from the same window.

The complete steps to taking a screenshot of a window in macOS without a drop shadow are:
- Open the window you of which you want to take a screenshot.
- Press Command+Shift+4 on your keyboard (or Command+Shift+Control+4 if you want to save it to the clipboard).
- Press space bar. The cursor will change from a crosshairs to a camera icon.
- Hold Option and click the window you want to screenshot.
- Your screenshot will appear on the desktop (or on the clipboard if you held Control with the screenshot command).
Now you can take screenshots of any window you want on your Mac without those annoying drop shadows!
 Home
Home